Water Marble Fingernail Design Examples and Instructions
Welcome to the captivating world of water marble fingernail designs. With some practice, you can learn how to make this nail design for yourself. If you’re seeking a statement-making nail style that’s both trendy and unique, look no further. This mesmerizing fingernail art technique allows you to create stunning, one-of-a-kind patterns reminiscent of swirling marble or abstract art. Every time you do it you get a different pattern.
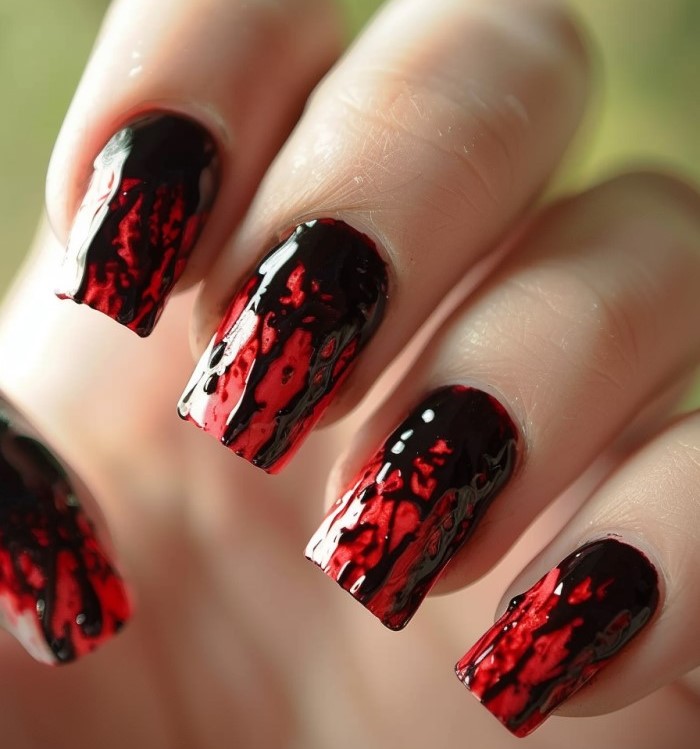
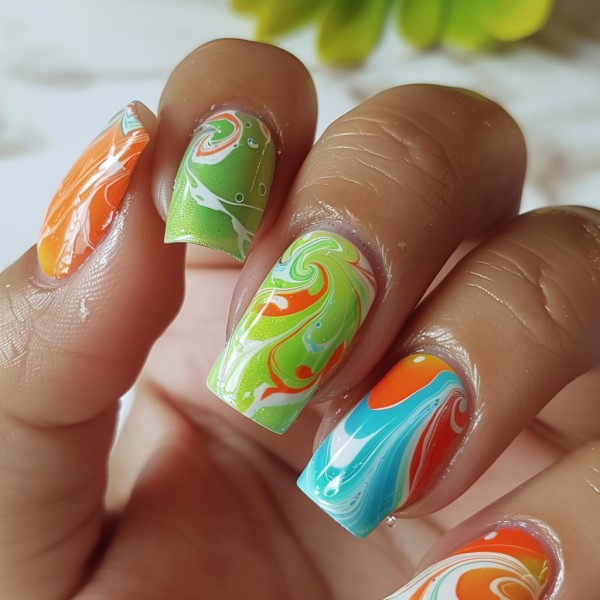
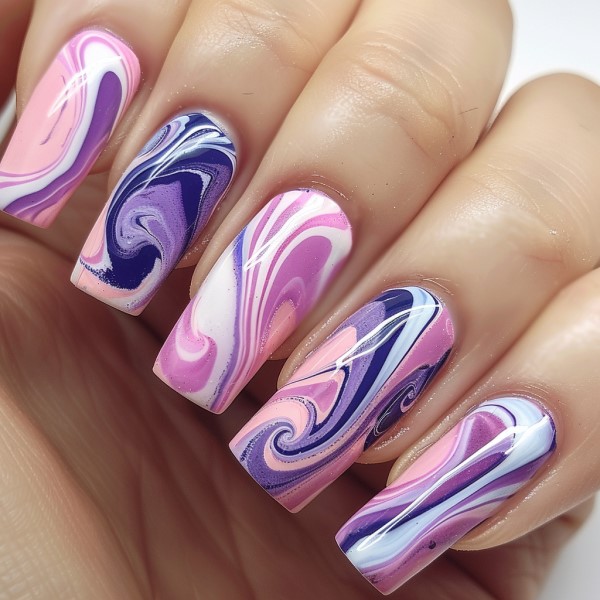
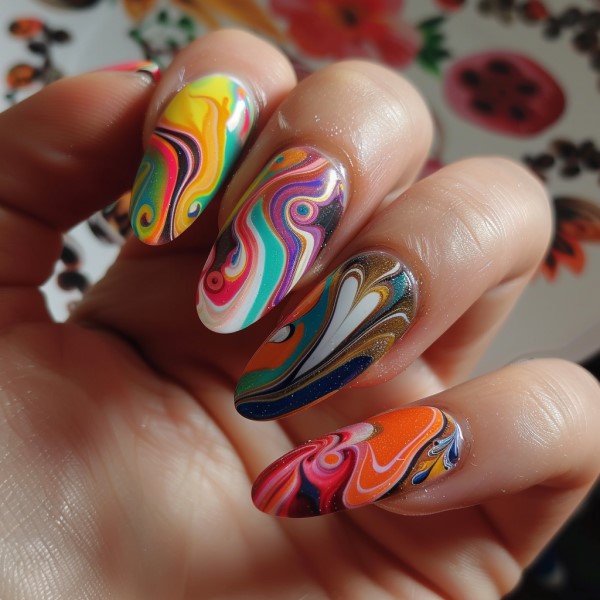
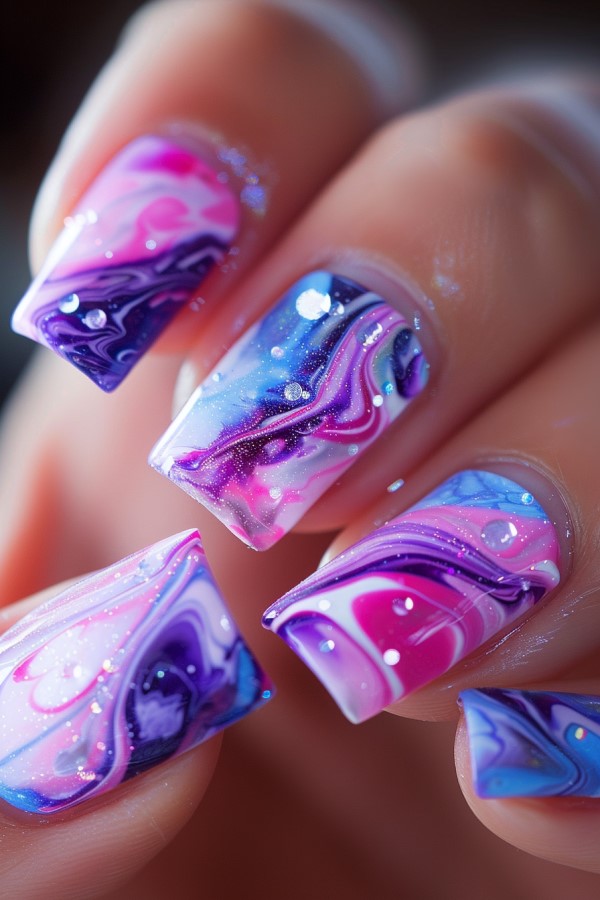
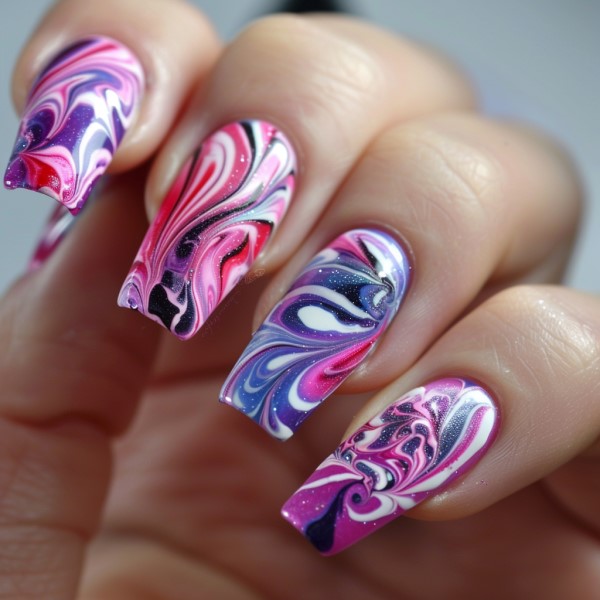
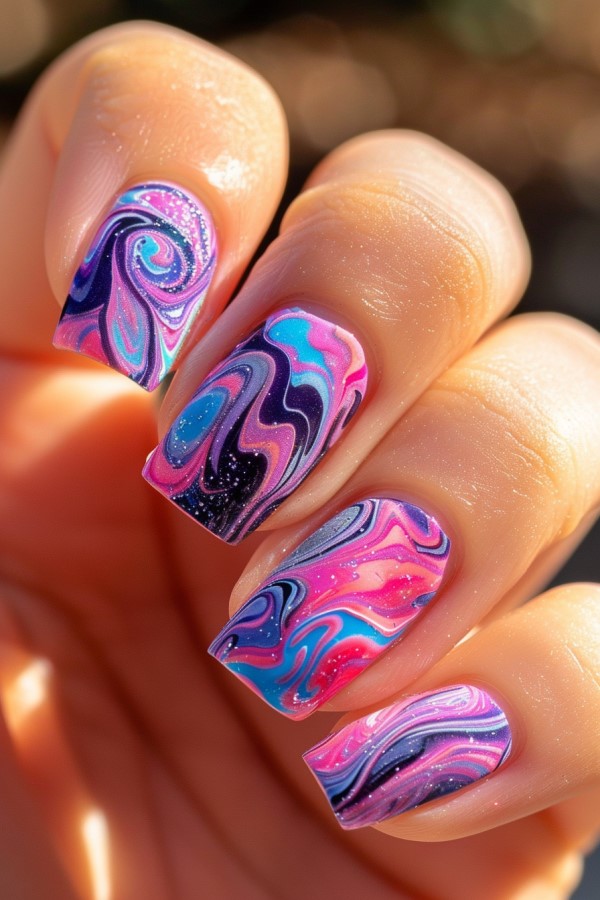
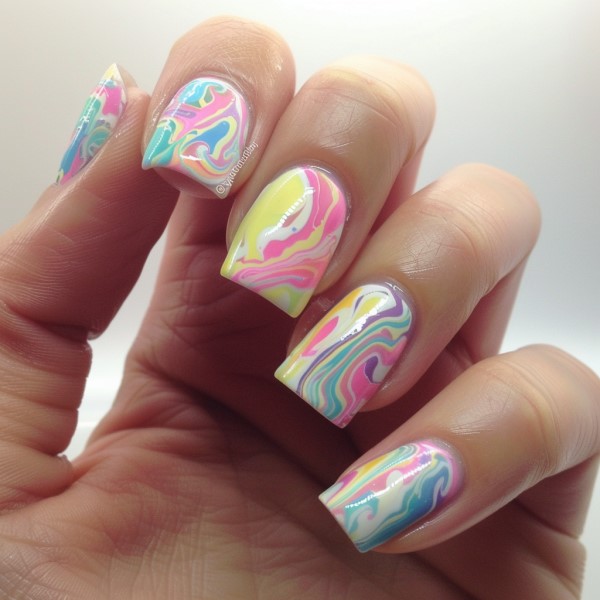
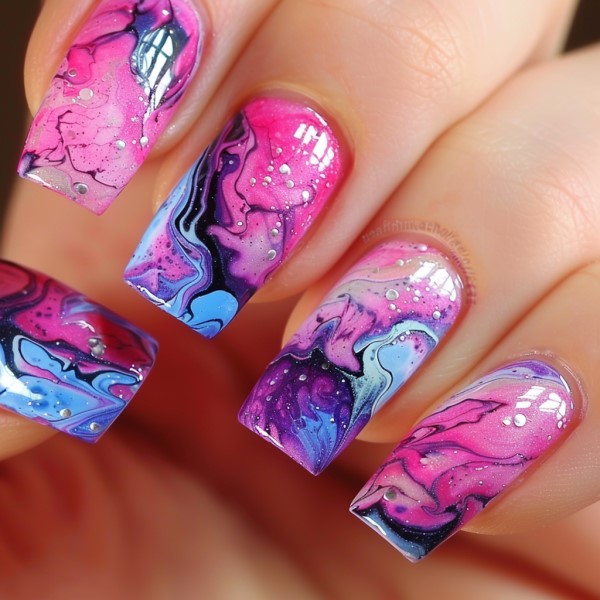
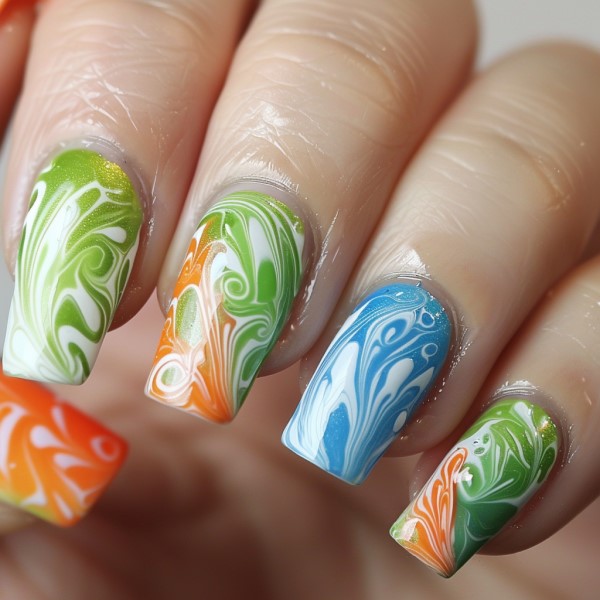
Here are some design examples before the instructions so you know just how amazing this nail art style is.


What You’ll Need:
- Nail polish colors of your choice
- A small container filled with room-temperature water
- Nail polish remover
- Tape or liquid latex (optional, for easier cleanup)
- Toothpicks or a fine nail art brush
- Base coat and top coat
Step-by-Step Guide:
- Prepare Your Workspace: Start by laying down a protective surface to catch any spills and gather all your materials.
- Apply Base Coat: Apply a base coat to protect your nails and ensure a smooth surface for your design to adhere to. Let it dry completely.
- Choose Your Colors: Select the nail polish colors you want to use for your water marble design. Remember that contrasting or complementary colors tend to create the most striking effects.
- Prep Your Nails: If desired, apply tape or liquid latex around your nails to minimize cleanup later. This step is optional but can make the process easier.
- Create Your Design:
- Open the bottles of nail polish and have them readily accessible.
- Fill your container with room temperature water, ensuring it’s deep enough to fully submerge your nails.
- Working quickly, drop one color of nail polish onto the surface of the water, allowing it to spread out.
- Repeat with additional colors, alternating as desired.
- Use a toothpick or nail art brush to create your desired pattern by gently swirling the colors together. Experiment with different swirling techniques for varied effects.

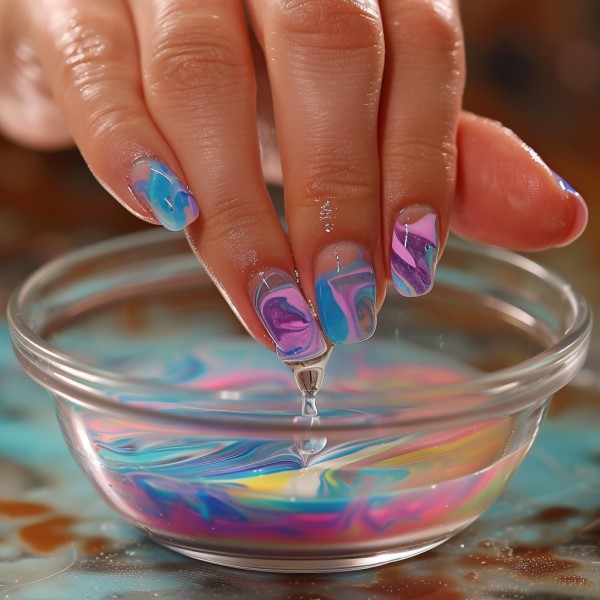
- Dip Your Nails: Once you’re satisfied with your design, carefully dip your nail into the water, ensuring the entire nail is submerged. Hold it in place for a few seconds to allow the polish to adhere.
- Remove Excess Polish: With your nail still submerged, use a toothpick or cotton swab to gather any excess polish floating on the surface of the water.
- Retrieve Your Nail: Slowly lift your finger out of the water, being careful not to smudge the design. Once fully removed, marvel at your masterpiece!
- Repeat for Each Nail: Repeat the process for each nail, refreshing the water and creating a new design as needed.
- Clean Up: Use nail polish remover and a brush or cotton swab to clean up any stray polish on your skin and around your nails.
- Apply Top Coat: Once your design is dry, apply a top coat to seal in your creation and give it a glossy finish. Allow it to dry completely before going about your day.
Variations and Tips:
- Experiment with different color combinations and swirling techniques to create endless variations of water marble designs.
- Try adding glitter or metallic accents for extra sparkle and dimension.
- For a more subtle look, use pastel or nude shades.
- If you’re having trouble with the polish adhering to your nails, try using filtered or bottled water, as tap water may contain impurities that affect the results.
- Don’t be discouraged if your first attempt isn’t perfect. This type of nail design takes practice.
Water marble fingernail designs offer a fun and creative way to elevate your nail design game. With a little practice and experimentation, you can achieve stunning, Instagram-worthy nails that are sure to turn heads. So gather your supplies, unleash your inner artist, and dive into the world of water-marble nail art. Your fingertips will thank you.